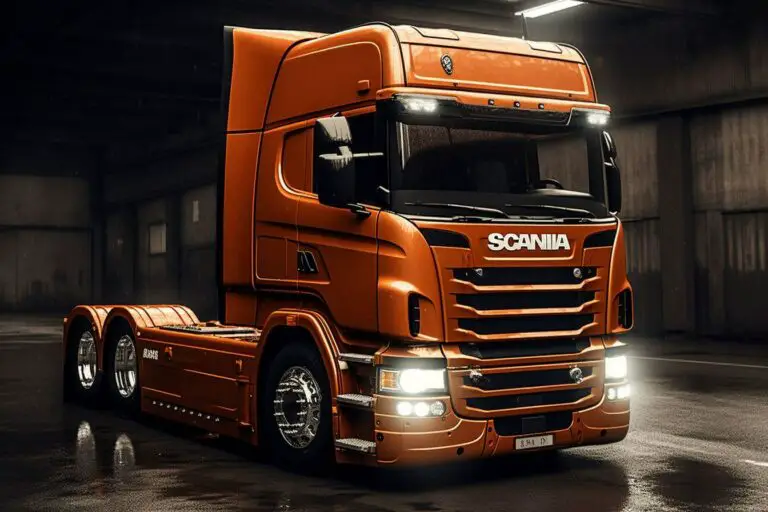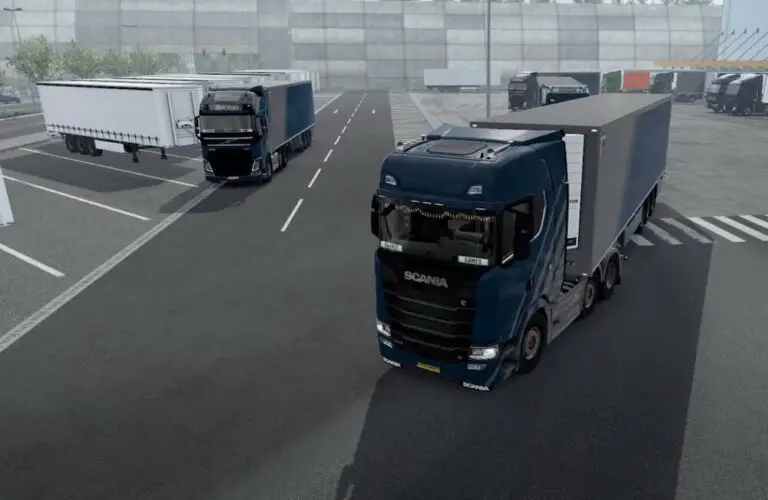
How To Install Car Mods – Euro Truck Simulator 2
Are you looking to enhance your gameplay experience in Euro Truck Simulator 2? If so, installing car mods is the way to go. In this article, we will guide you through the process step-by-step.
First, you’ll learn how to download and access the mod folder.
Then, we’ll show you how to add the car mod to the game using Steam’s mod manager.
Once you’ve confirmed the changes, you can start or continue your game and check your available funds to purchase cars.
We’ll also cover how to access the truck dealer, select and customize your desired car mod, and assign it as your main truck.
Along the way, we’ll provide tips and precautions to ensure a realistic driving experience with the car mod.
So, get ready to hit the virtual road with your favorite car mods and take your Euro Truck Simulator 2 gameplay to the next level.
Here are more must-have Euro Truck Simulator mods:
Make Money Fast (Without Cheating)
How To Install Mods In Euro Truck Simulator
How To Install ProMods (Free and Paid)
How to Install Car Mods
Now, let me show you how to easily install car mods and take your Euro Truck Simulator 2 experience to the next level.
- Start by downloading the car mod. Click on ‘Free Download’ and open the downloaded file. Close any additional tabs that open and monitor the download progress.
- Once the mod is downloaded, open the file explorer and navigate to the ‘Documents’ folder. Look for the ‘Euro Truck Simulator 2’ folder and open it. If you can’t find a ‘mod’ folder, create one.
- Open Steam and go to ‘Euro Truck Simulator 2’. Access the mod manager. Double-click on the car mod and adjust the mod priority if necessary. Confirm the changes.
- Start or continue the game. Check your available funds and go to the truck dealer. Look for the desired car mod in the inventory.
- Select the car and choose a garage slot. Confirm the purchase and customize its appearance.
- Finally, go to the truck manager. Select the car mod and click on ‘Drive it’ to assign the car as the main one.
- Enjoy the realistic driving experience with the car mod and have fun exploring the game!
Here is a step-by-step plan:
Downloading the Mod
To download your favorite car modifications for Euro Truck Simulator 2, follow these steps:
- Search for “AC Cars” in Google or CLICK HERE for a car list with downloads.
- Click on ‘Free Download’ to begin the download process.
- Open the downloaded file and close any additional tabs that may open.
- Keep an eye on the download progress to ensure it completes successfully.
- Finally, drag and drop the downloaded file into the mod folder in the ‘Euro Truck Simulator 2’ folder.
Downloading mods is an exciting way to enhance your gaming experience. With these simple steps, you’ll be on your way to adding new and exciting car mods to your Euro Truck Simulator 2 game.
Accessing the Mod Folder
Discover the hidden gateway to a world of endless possibilities by accessing the secret realm where your dreams come alive.
To access the mod folder in Euro Truck Simulator 2, follow these steps:
- Open your file explorer.
- Navigate to the ‘Documents’ folder.
- Locate the ‘Euro Truck Simulator 2’ folder and open it.
- Inside, you will find the ‘mod’ folder.
- If the mod folder is not present, simply create one.
- Once you have accessed the mod folder, you are ready to add your car mod to the game.
- This folder is where you will drag and drop the downloaded car mod file.
Adding the Mod to the Game
To seamlessly integrate the new car mod into your game, follow these steps to add the mod to Euro Truck Simulator 2:
- Open Steam and go to ‘Euro Truck Simulator 2’.
- Access the mod manager.
- Double-click on the car mod you downloaded.
- Adjust the mod priority if necessary.
- Click on ‘Confirm Changes’ to apply the mod.
Start or continue the game in Euro Truck Simulator 2.
Check your available funds to purchase cars.
Head to the truck dealer in the game.
Look for the desired car mod in the dealer’s inventory.
By following these steps, you’ll be able to successfully add the car mod to your game and start exploring the roads with your new vehicle.
Confirming Changes and Continuing
Now, it’s time to make sure your changes are applied and get back on the road in Euro Truck Simulator 2.
Click on ‘Confirm Changes’ to finalize the installation of the car mod. This will ensure that the mod is properly activated in the game.
Once you have confirmed the changes, start or continue the game in Euro Truck Simulator 2.
Take a moment to check your available funds to purchase cars in the game. Then, access the truck dealer and look for the desired car mod in their inventory.
Select the car mod and choose a garage slot to place the car. Confirm the purchase and customize the car’s appearance, such as changing the rims. Some car mods may even offer interior customization options.
Afterward, go to the truck manager and select the car mod from the list. Click on ‘Drive it’ to assign the car as your main truck. Optionally, you can switch back to your previous truck as the main one.
Now, enjoy driving the car in the game and experience its interior and exterior details, listen to the engine sound, and test its speed and handling on the main road.
Just remember to be cautious not to flip the car, avoid damaging it during gameplay, and take care of its wheels. Follow traffic rules and regulations for a realistic driving experience with the car mod.
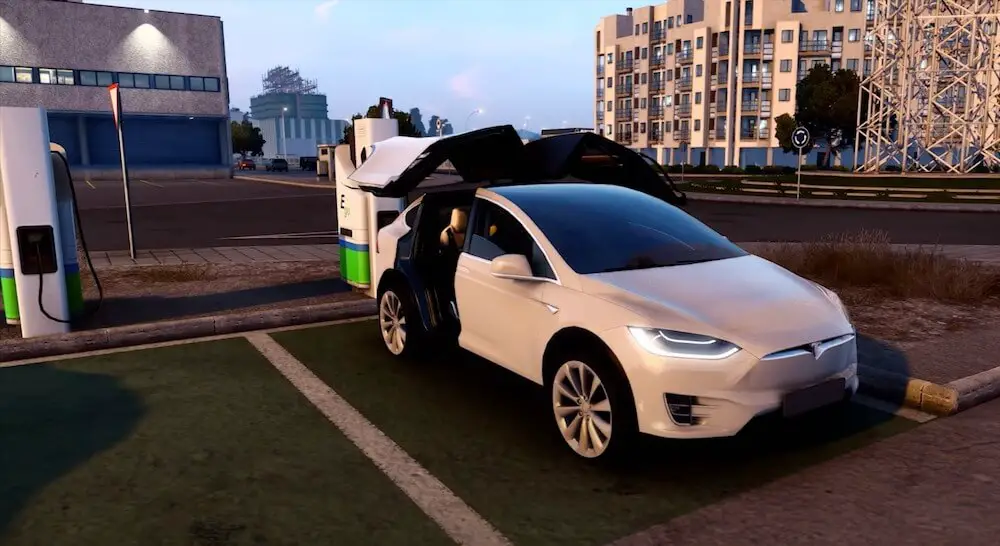
Purchasing and Customizing the Car
Get ready to make your dream car a reality as we dive into the exciting world of purchasing and customizing your very own ride in the game!
Once you have accessed the truck dealer in Euro Truck Simulator 2, it’s time to browse through the inventory and find the car mod that catches your eye. Select the desired car mod and choose a garage slot to place your new ride. Confirm the purchase and get ready to customize your car’s appearance.
You can change the rims to give it a unique look, and some car mods even offer interior customization options. After you’ve customized your car to your liking, don’t forget to assign it as your main truck to the truck manager.
Click on ‘Drive it’ and start enjoying the thrill of driving your newly purchased and customized car in the game.
Assigning the Car as the Main Truck
Ready to take your newly purchased and customized car for a spin? It’s time to assign it as your main truck in the truck manager and hit the road with your dream ride. Here’s how to do it:
- Go to the truck manager.
- Select the car mod from the list.
- Click on ‘Drive it’ to assign the car as your main truck.
Optionally, if you want to switch back to your previous truck as the main one, you can do so.
Once you’ve assigned the car as your main truck, you’re ready to enjoy the thrilling experience of driving it in Euro Truck Simulator 2.
Tips For Driving A Car In Euro Truck Simulator
As you hit the road with your newly assigned dream ride, here are some essential tips to ensure a smooth and realistic driving experience in Euro Truck Simulator 2.
- Be cautious not to flip the car, especially when taking sharp turns or navigating uneven terrain. It’s important to avoid damaging the car during gameplay, as repairs can be expensive.
- Pay close attention to the car’s wheels and make sure they are in good condition to prevent any accidents or breakdowns.
- Always follow traffic rules and regulations to maintain a safe and realistic driving environment.
- Enjoy the realistic driving experience with the car mod, listening to the engine sound and observing the car’s speed and handling on the main road.